Vacuum Attachment Storage: A Labelled Home for Every Tool
Give each vacuum attachment a labelled home beside your cleaning setup. Start by identifying which machine owns it, record the job it is meant for, then separate tools you reach for regularly from those used occasionally. A drawer or shelf you already have may be enough.
This guide helps with the small loose tools that disappear between cleaning sessions. The worksheet and four-tool example are original planning suggestions from the Natty House Team. Adapt them to your own equipment and its instructions.
Identify the tools before choosing storage
Gather the loose attachments and the manual or accessory list for your vacuum. Write the machine's model on a paper card. If you own two vacuums, make two separate groups, even when their tools look alike.
Compatibility depends on the equipment. For example, Dyson's accessory guidance says that not every Dyson accessory is compatible with every model and recommends checking the model number and compatibility information. Use your own manufacturer's documentation to identify each tool.
Put an unidentified attachment in a temporary Identify first area with a next action: find its part number, check the manual, or ask the manufacturer. Keep it out of the ready-to-use group until you know what it belongs to. The shape of a connector alone is a poor filing label.
Make a tool map you can copy
Use one row or card per attachment. Record the task from the manual, rather than guessing a use from the tool's appearance. A simple sketch or your own photo can help distinguish two similar pieces.
Vacuum model: ____________________
Tool name or part number: ____________________
Documented task: ____________________
Used regularly / occasionally / not yet identified: ____________________
Storage home: ____________________
Missing item or next action: ____________________
Write a label such as Vacuum A · crevice tool on the storage section. Add the model to the card beside it. If you replace the vacuum later, review the map before putting its new attachments into the old group.
Choose a place by retrieval and return
Start with an existing drawer, divided tray, basket or bag near the vacuum's normal storage location. Dyson's storage FAQ recommends a clean, dry location for the vacuum and separate storage for attachments. Follow any model-specific storage instructions supplied with your machine.
Lay out the pieces before adding labels. Can you pick up the one you need without emptying the container? Can you return it without pressing it into a crowded gap? If not, divide the group or give a bulky item its own section. Keep the storage arrangement clear of the room's walking path.
Use three locations within your available space:
- Everyday: the small tools you actually use during routine cleaning, with each name visible.
- Occasional: identified tools for less frequent jobs, kept together with a note saying where to find them.
- Identify first: unresolved pieces, separated from the tools ready for use.
These are storage categories, not a recommendation to buy three containers. Two sections in a drawer and one temporary paper bag could serve the same purpose.
Worked example: one vacuum, four loose tools
Imagine a household with one vacuum and four loose attachments. Its manual identifies a crevice tool, a dusting brush and an upholstery tool. The fourth piece has no confirmed match. This is a hypothetical example, not a tested setup or a universal accessory list.
- The household uses the crevice tool and dusting brush regularly. Both get named sections in the front of an existing drawer.
- The upholstery tool is used occasionally. It sits in the back section with its name facing up; the tool map records that location.
- The unidentified piece stays in the temporary review area. Its card says: check the part number against the accessory list.
- When a tool leaves the drawer, its labelled section stays empty. Another object does not take over the space.
If the dusting brush is missing at the next cleaning session, check the room where it was last used, then update its card if its permanent home has changed. Avoid buying a duplicate until you have checked the recorded location and the equipment's own storage compartments.
An end-of-session return checklist
- Account for the attachments taken out for this session.
- Follow the manufacturer's care instructions for any tool that needs attention before storage.
- Return each ready tool to its named section.
- Leave a note for a missing or unresolved piece, including the next place to check.
- Put the tool map back where you choose your cleaning equipment.
For choosing the rooms and tasks themselves, use the room-by-room cleaning checklist. Keep the accessory return step at the end of whichever room job used the tools.
Fix a storage problem without adding another bin
- Tools from different machines get mixed: separate by model first, then by frequency of use.
- A tool is buried every time: move it into a visible section or separate a bulky neighbor.
- An empty slot gets filled with unrelated items: make its tool label visible and reserve the space.
- Nobody knows what an attachment does: add its documented task to the tool card.
- The review area keeps growing: resolve one identification question before adding another storage container.
Connect the storage shelf to your cleaning routine
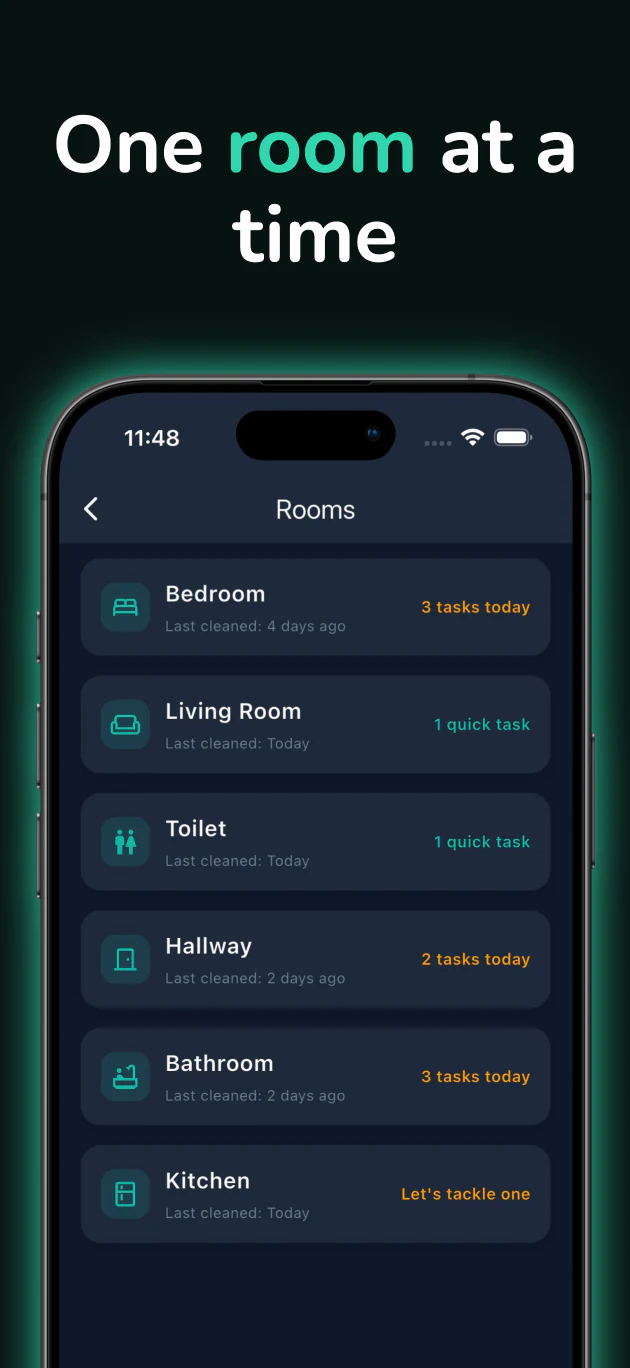
After organizing the attachments, include the drawer or shelf in the cleaning routine for its room: clear the section and remove visible dust when it needs cleaning. Natty House organizes cleaning tasks by room and provides task reminders. Its room view shows names, cleaning status and task counts.
Editorial note: the worksheet, storage categories and worked example were prepared for this guide. Manufacturer sources were reviewed on October 14, 2026. This guide covers organizing accessories; equipment care and permitted uses follow your model's instructions.